Showing posts with label kagura. Show all posts

Monday, May 28, 2007

Kagura WIP 280507

Dang it! I'm lazy.

Haven't been updating the blog as I wanted to. Oh well, cest la vie.

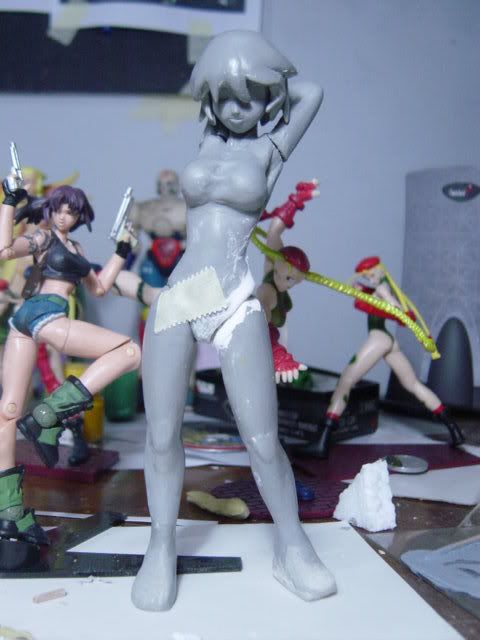
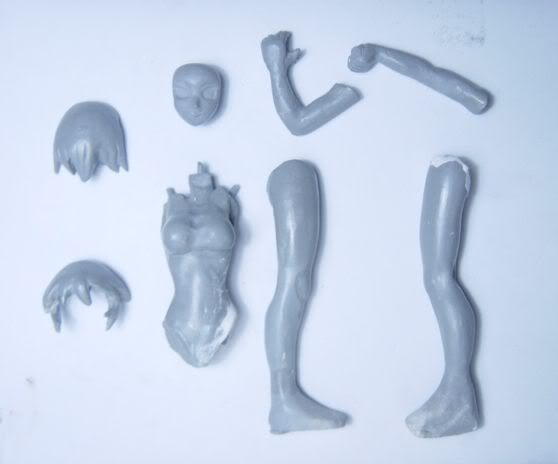
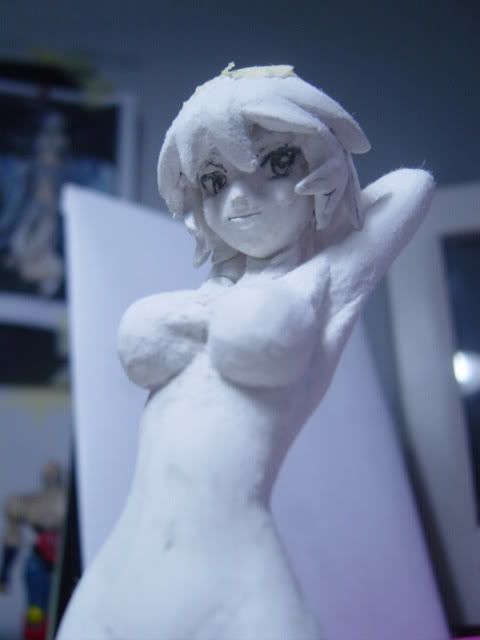
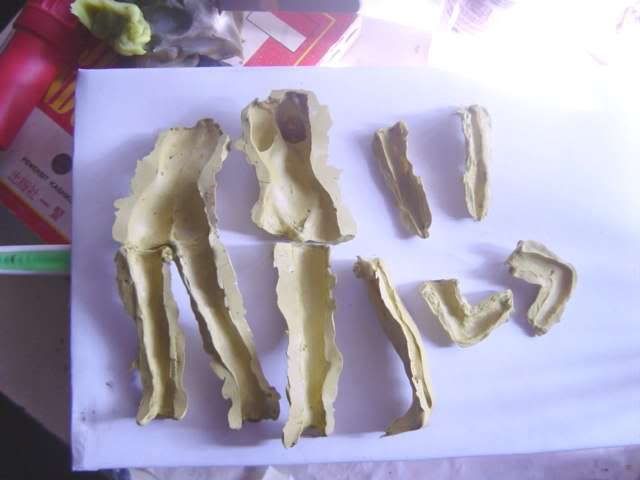
Anyway, here's a couple of photo of the Kagura. I've primed her and is now on the stage of a sanding-putty-sand-some-more marathon. Still haven't touch the feet though. Sculpting toes scares me! I've also cut her up in preperation to cast her. Yes folks, I'm going to cast Kagura, and maybe sell some as kits. But since I don't want to break any copyright law (?!?), so I'm going to sell it as "I-can't-belive-it's-not-Kagura" kit ^_^u


Well,I'm going back to work now.
I'll post the claymore piece tomorrow.

Until then!!

Monday, May 14, 2007

More Kagura WIP photos!

Here's more current shots of Kagura!


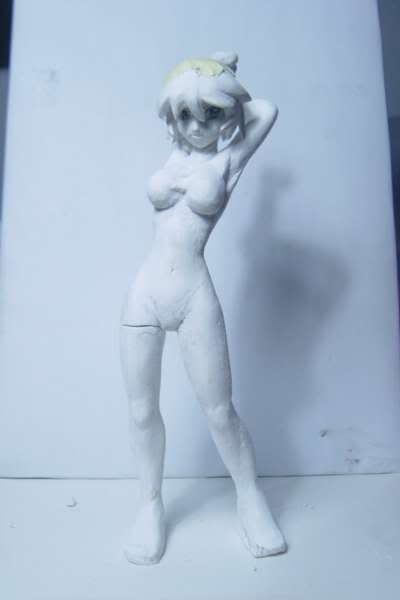
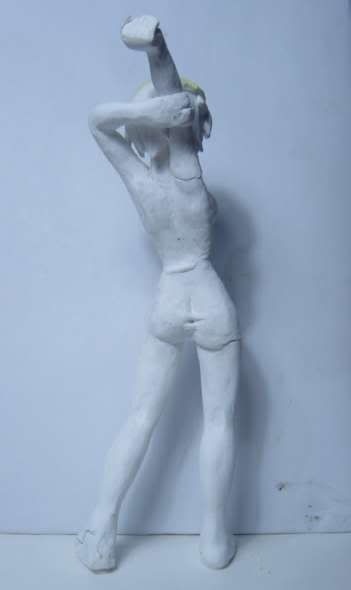
Done some general sanding and fix up on her. She looks so much smoother now. I've also sculpted some more muscle and fat to their respective areas ;)

Click on the pictures to enlarge


Enjoy!


Making Kagura part 4: Waste mold revisited

Finally!


The fourth installment of this figure-making-guide is here. In this installment, I'll be showing you how to make a waste mold for our oil clay figure and cast it in paper clay or polyputty. I have written a guide concerning the production of waste mold here, but this time I'm going to show another way to doing just that.


Well, lets get started shall we?


The main reason we're making a waste mold is to cast our sculpture in a stronger media. Let's face it, oil clay is great to work and sculpt, but a slight slip up can destroy a full day of work in an instant. Accidentally pushing your sculpt off the work desk is one of those slip up. Before that happen (and you loose your insanity, not to mention your hair), we're going to cast our oil clay Kagura in paper clay and pollyputty. Click the picture to enlarge.


I've developed this method of making waste mold while trying different stuff to achieve the same result. I found this method easier and faster in producing a waste mold. If you have a better way in doing this, do share it with us!


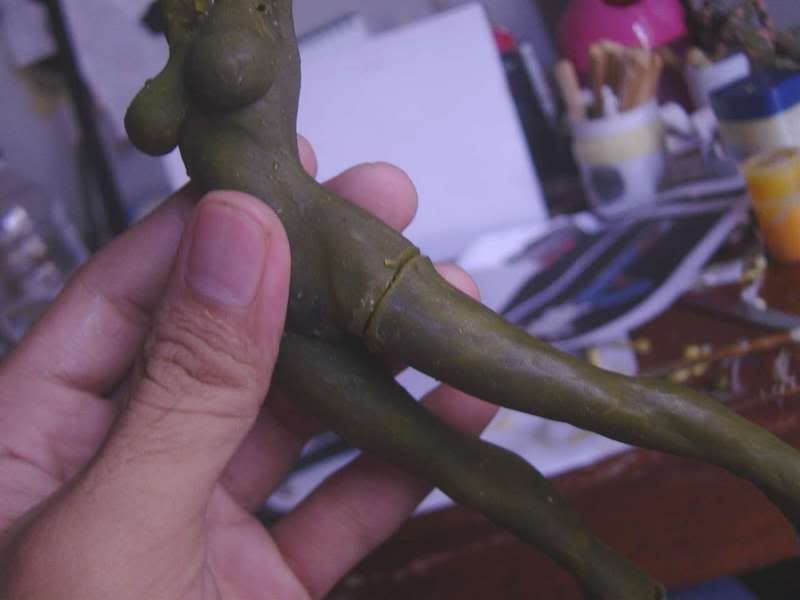
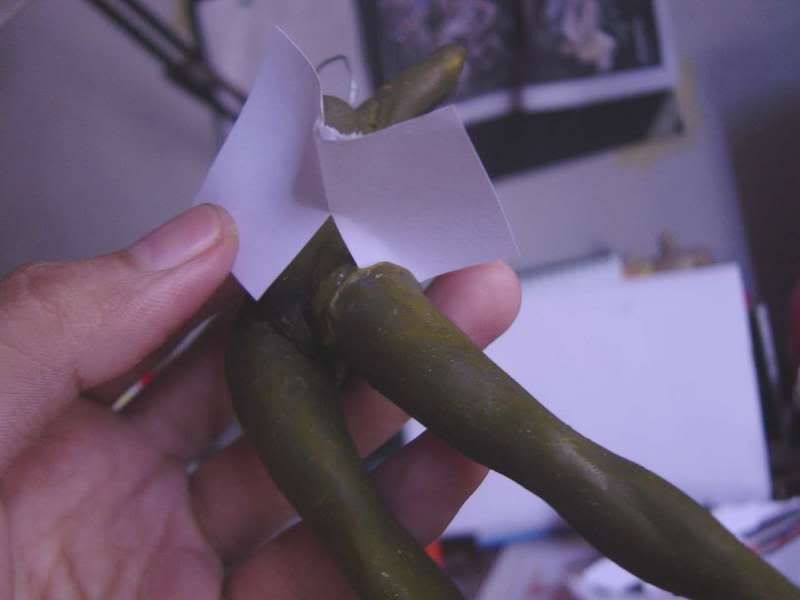
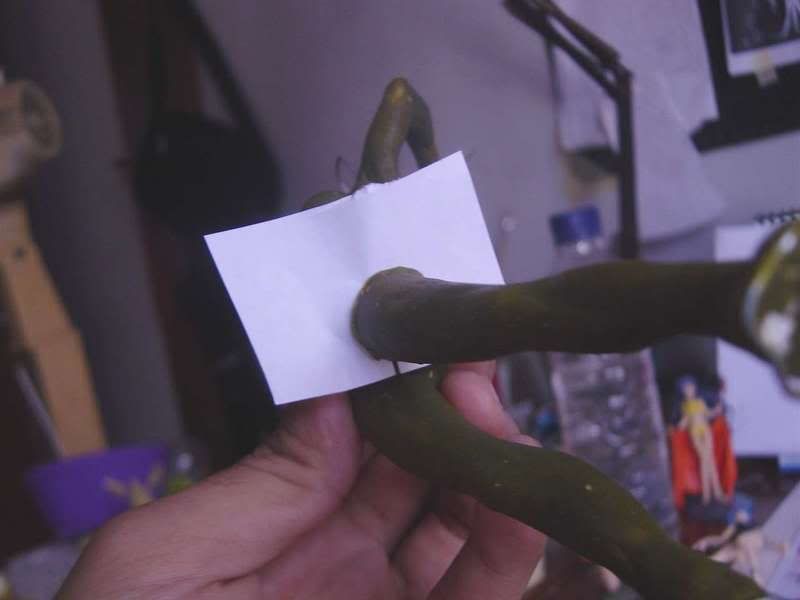
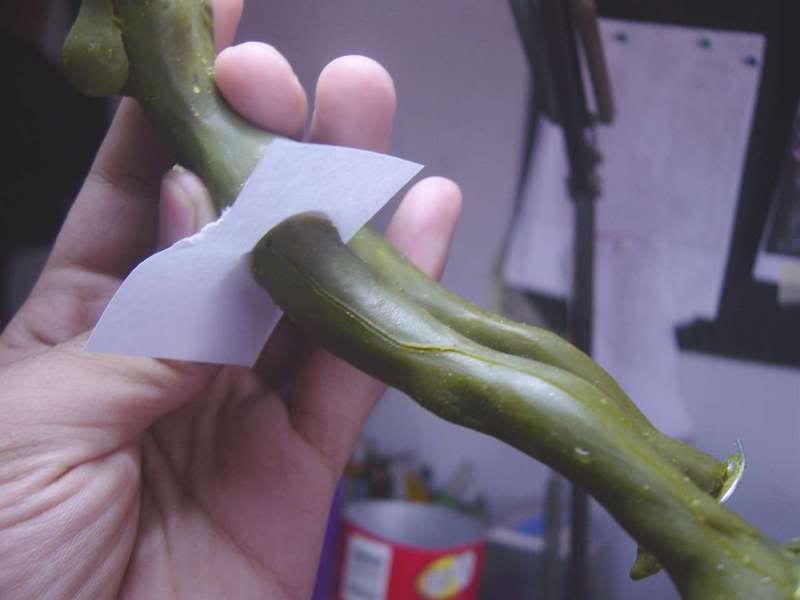
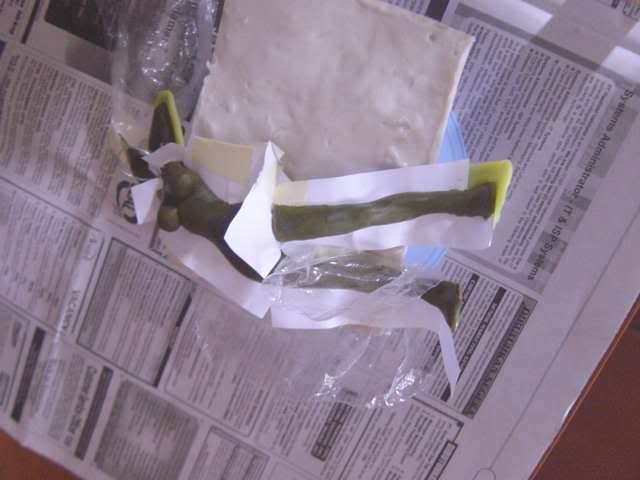
Let's get the figure ready first. I scribe a line on the side of the body and leg. This line will be our seam or parting line, the line where the two (or more) part of the mold connects. If you dont have a clue on making this line, just grab a toy and observe the seam lines on it. Then, using a cutter blade, I cut deeper into the lines, being carefull not to go too deep and split the figure. Next I put paper strips in the lines. The paper will act as a barrier for the mold parts. Take your time while doing this, make sure the papers are secured on the clay. After the paper are secured, brush some vaseline on the entire surface of the figure. This will act as a mold release agent, and it'll make the clay surface smoothe like a baby's tushie. When that's done, we're ready to make our mold! JOY!


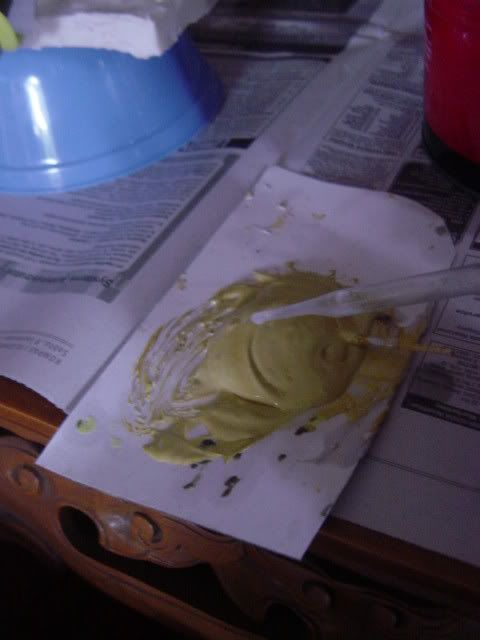
Okay, let's get the materials next. I use polyputty, laquer thinner, vaseline, toothpicks for stirring the putty and some cardboard for mixing the putty. You can see the other stuff I use in the picture below. Easy no?


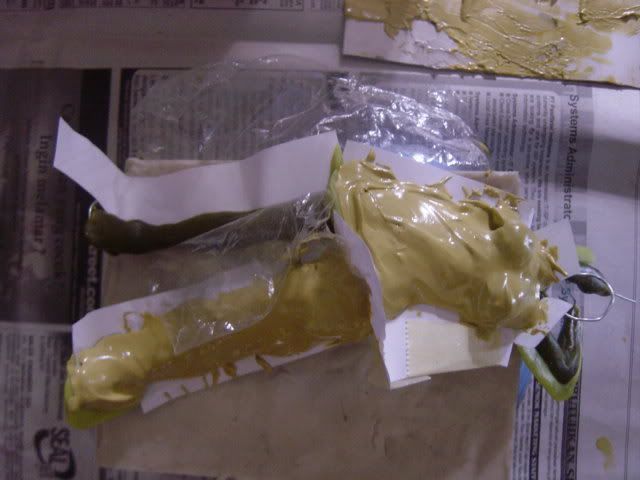
Mix enough of the putty and the hardener on a piece of cardboard. Why on a cardboard you asked? So you can throw it away when you're done. Easy cleanup ^_^ After getting the putty all mixed up, thin the mixture with laquer thinner. The aim is to get the mixture thin enough to be easily spread on the figure WITHOUT forming air bubbles. Dont worry if you add too much thinner, as long as you got the putty-hardener ratio right, the mixture will harden (although I might be wrong on this -_-u). Spread the mixture evenly on one surface of the figure and paper. Make sure all the surface are coated. Add more if you think it's to thin, especially in parts that sticks out (boobies for example). Let it cure for a while, and then flip it over and do the same on the other side. Let the polyputty fully cured. We have our waste mold!


This is the difficult part, more difficult if you forgot to add vaseline beforehand. Pry the mold open GENTLY! If you did the steps I said above this shouldn't be too hard. The oil clay figure WILL be destroyed at the end of this process. Remove any clay that still cling to the mold. Lighter fluid and cotton swabs helps. After you get the mold clean, it's time to coat the inside of the mold with vaseline. Make sure you got all the nooks and cranies coated. Our mold is ready to use!


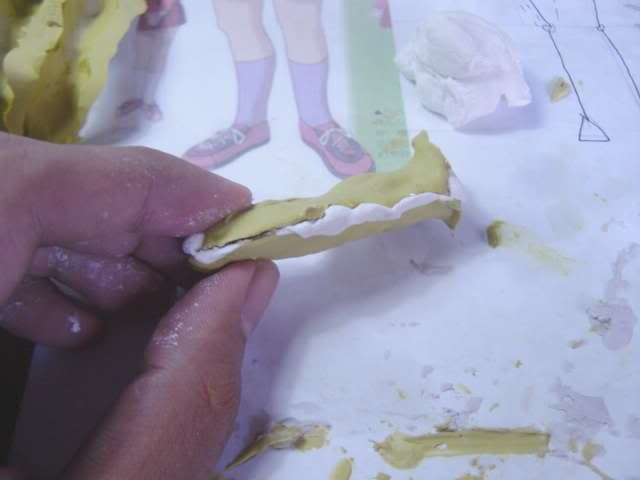
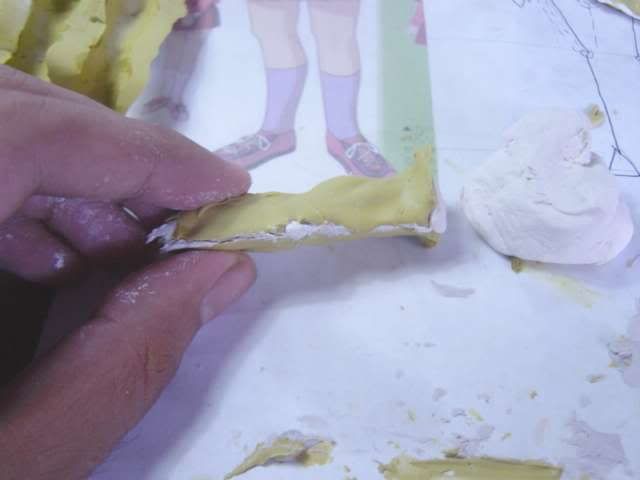
Here I'm casting a paper clay copy using the mold we just made. I'm using the arm part of the mold. Just fill one half of the mold with paper clay. It's okay to overfill the mold, but not too much. Press the two halves together untill the clay leaks out. Trim the clay. Open the mold and you have yourself a copy of the arm. Let the clay dry and continue with your sculpt.

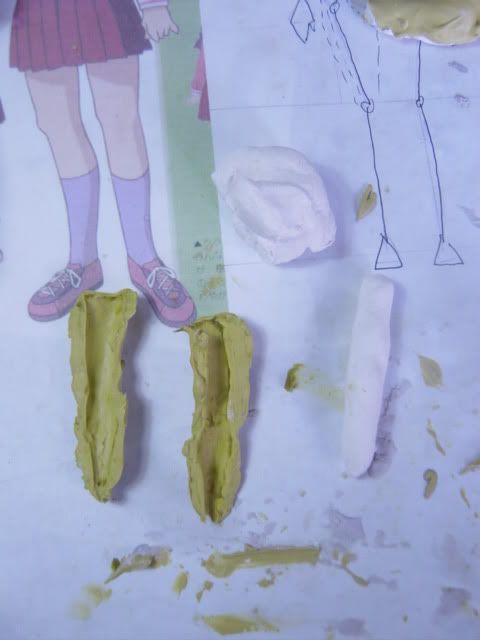
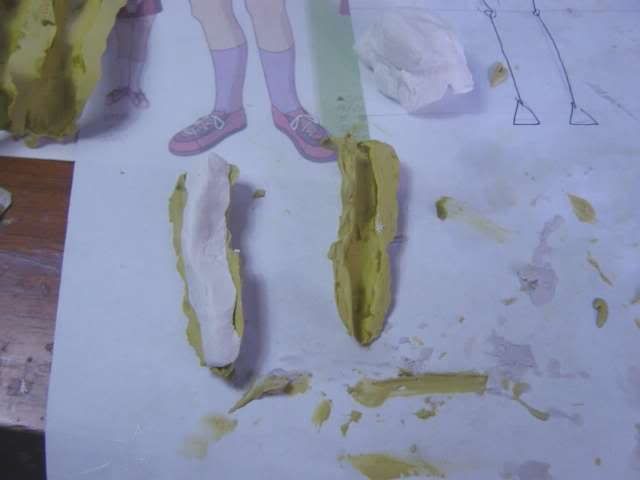
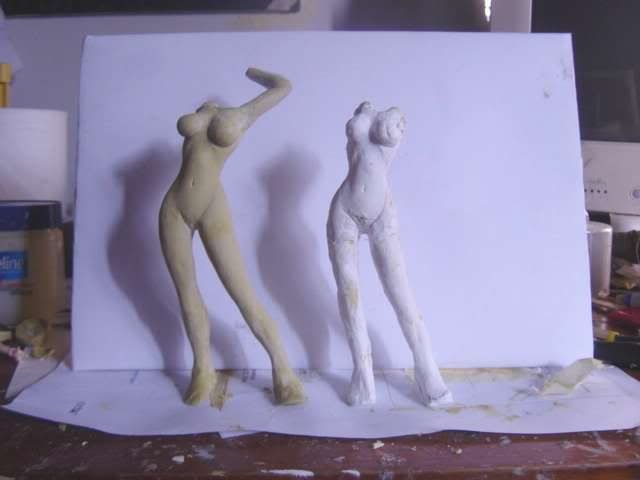
Here I cast two copies of Kagura's body, the yellow one with pollyputty, and the white one with paper clay. The mold broke after I cast the pollyputty copy.


That's the end of the 4th tutorial. I hope you enjoy reading it.

I dont have any plans for the next installment yet. But I'll think of something.


Until then!

Thursday, May 10, 2007

Making Kagura: WIP shots

Just some WIP shot again guys. I really haven't the time to finish writting the 4th tut. In the meantime. I'm going to post some pics on the sculpt as I get along. Dont worry, I WILL have the tutorial up. Just dont know when.


Untiul then, Enjoy!


Tuesday, May 8, 2007

I'm sooooo lazy! Or am I?!?

Before you asked, yes I'm still working on the tutorial. When will it be posted? When it's done of course. For now, just a little teaser ;)


Until then, Enjoy.

and remember, "patience is virtue"


Tuesday, May 1, 2007

Making Kagura part 3: Sculpting a Face

Welcome to part 3 of Midztoy's figure making mini tutorial!

If you haven't read the first couple of tutorial, just click here and here.

On this third installment we're going to sculpt the face of the figure. There are as many way to sculpt a face as there is sculptors. This is my way. It might not be the best way for you, but I hope you can learn and develop your own way to sculpt faces. Like always, have some reference handy. We'll be aiming for likeness, and those references are needed for that. I can't stress this enough.

Okay, let's sculpt some face!


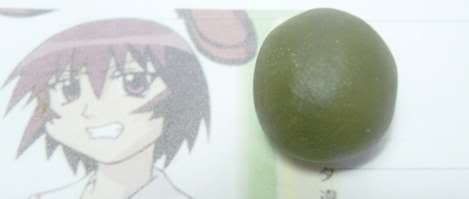
Start by making a ball of clay roughly the size of the head. Use your reference as a guide. You can also stick it on the body to get an estimate of the size and proportion of the ball.


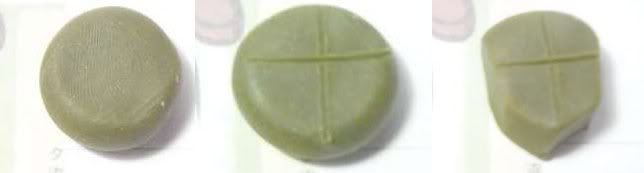
I then flatten the ball and score some guide lines. Using this guide lines, I cut away parts of the squished ball to make the chin and jaw. Again use your reference for this.


After getting the jaw and chin right, I then pres an indentation on the horizontal lines to make the groove for the eyes. While doing this, I smooth out the clay and made the contour of the cheek and forhead. If you have an anime figure laying around (a gashapon should do), examine and study how the sculptor sculpt the face. Try to mimic it, it's great practice! Anyway, after some kneading and smoothing, I got my cheek bone. Now we must add a nose, time for a nose job.


I pinch a small ball of clay and put it where the nose is located. I then sculpt the nose and blend it to the face. Sculpting anime style nose is easy! No need to add nostrils and other details. All you need to do is sculpt a pointy triangle and you're done. Joy! You do need to check it from every angle to make sure the nose is in the right position and it's not croocked.


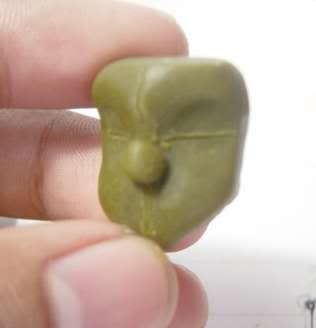
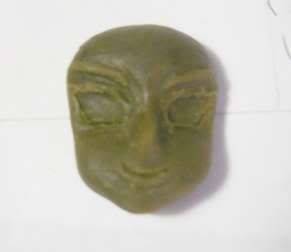
Using my tool, I scribe the eyes and made the eyelids, I also sculpt out the mouth. I really can't give you any pointers on this, other than use your reference and paractice, practice, practice! The great thing on using oil clay (and maybe sculpey) is when you mess up, you can repair it easily. I messed up a lot while making the eyes and mouth for the face in this tutorial. The picture below is actually the result after many unsuccessfull attempt. Now we got ourself a face.


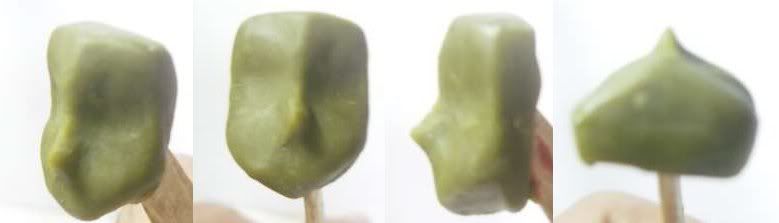
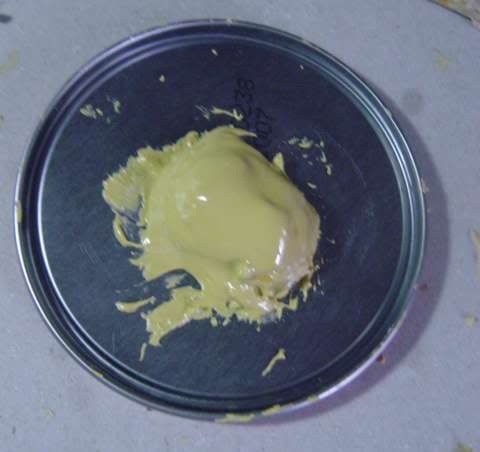
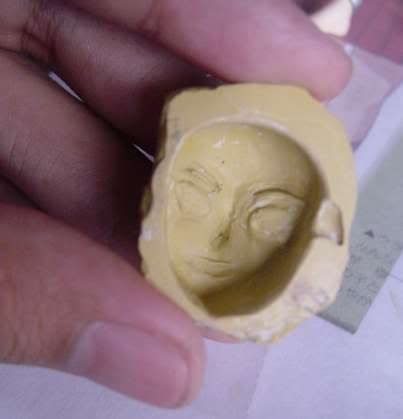
Fix the proportion if it's off. Since we dont want to accidentally squish the face while working on the rest og the figure, we need to make the face stronger. That's where waste molds comes in. I've written an article on how to make a waste mold, Read this first. Below are some photos I've taken while making a waste mold for the face.


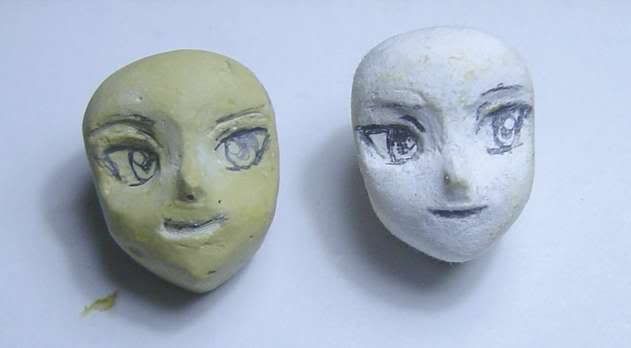
After the waste mold cured, I dug up the clay and clean the mold. If you have trouble cleaning the clay from the mold, try using q-tips dipped in some lighter fluid. Now that we have a face mold, we can cast a face. I'm using paper clay and polly putty to cast Kagura's face. The cast still need to be cleaned and resculpt, but at least it won't deform when you pinch it. Here is the final result of the face. The left is made of poly putty and the right is made of paper clay. Still need smoothing and sanding, but I'll get to that in the priming stage.


And with that the 3rd tutorial is finished. I hope you enjoyed it.
Next up, body casting. This one's a doozy!

Until next time!

Thursday, April 26, 2007

Making Kagura part 1: Materials

Welcome to the first part of Midztoyz's figure making mini-tutorial.

Let's get this tutorial started! The first thing you need to know about making a figure is the material used. This is the stuff that our figure will be made of. There are many to choose, from the common automotive putty to the more expensive professional sculpting clay. It really depends on what you have access to. The materials I used are the ones that I can get my hands on. I live in Jakarta, Indonesia, and this is the stuff that I can get locally, unless noted. I will also try to provide alternatives for these materials if there are any. Let's get down to bussiness.


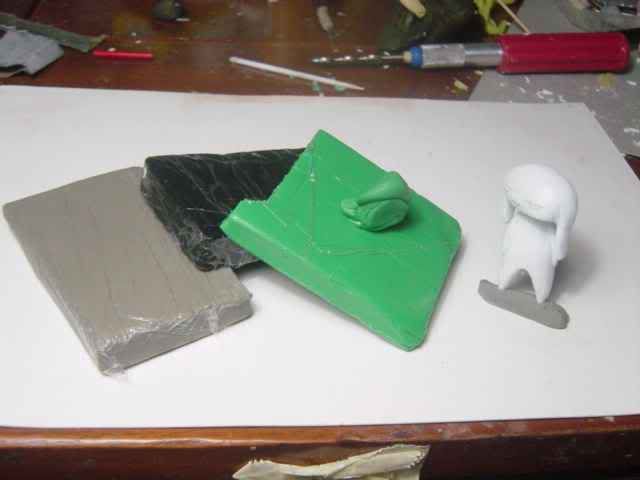
Oil Clay

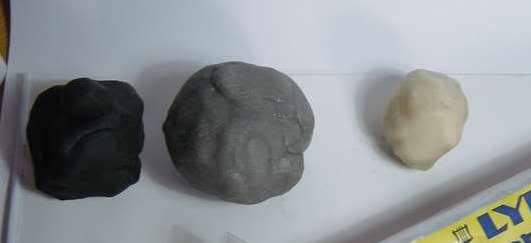
Also known as plasticine. This is probably the easiest clay to find. It oil-based so it wont dry out. You want a firm texture with high elasticity. My current favourite is a local brand called 'Raja Ketawa'. It has great elasticity, easy to work with and have a nice scent. I find that the black colored clay is firmer than the other colors. Yellow is the softest. I this clay it to make the basic shapes and rough sculpt for molding. It's also good for practicing sculpting technique. If the clay is getting to soft, just pop it in the fridge for a minute to make it firm. You can then carve and add details.


Polyester Putty

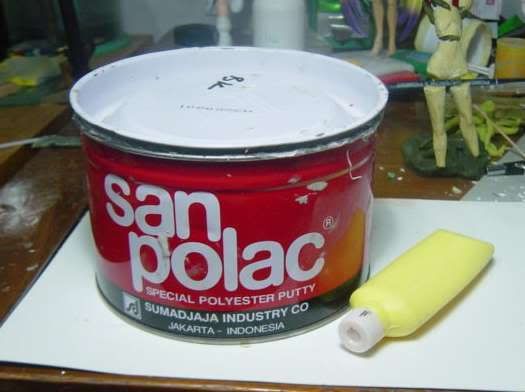
This is polyester putty (poly putty for short). This is my main workhorse putty for making my figures. You might know it as automotive putty, the one used to patch up dents and body repair. It comes with a small bottle of hardener. You mix the putty and hardener with a ratio of 100:2 until you have an even uniform color. The putty itself cannot be worked at until it's cured. It takes about 20 minutes to cure. You can also manipulate the time and hardness of the mix by manipulating the ratio of hardener. More hardener will give you harder and faster curing mix, and vice versa. Keep in mind, if you add to little hardener, the mix will not cure at all and are left with a gooey mess. You can also thin this putty using laquer thinner. It's readily available almost anywhare, and come in tin of 250 g, 1 Kg, and 4 Kg. Be sure to wear proper protection though. The fumes from it is toxic and it stinks!


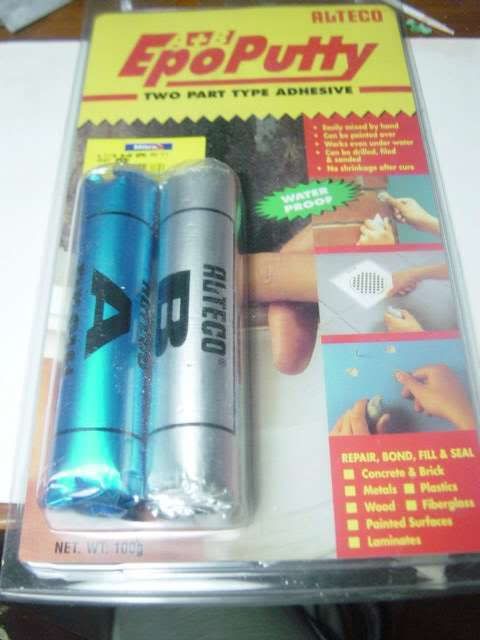
Epoxy Putty

You mix and equal amount of resin and hardener. Knead it until it's uniform and this putty is ready for use. It'll cure rock hard, you can sand, drillm and tool it. Before it's cured, the texture of this putty is sticky, much like chewed bubble gum. It stick to almost anything. I usually sit a mix for 5-10 minutes before using it. Do keep you hand and tools wet to keep them from sticking to the putty. I mostly used this putty for detail work.


Air-Dry Clay

These are air-dry clay. You use it like oil clay, but it'll cure if you leave it in the air. After curing, the clay can be sand and tooled, but do be careful since this material is brittle. The white one is paper clay. It's a mixture of paper fiber, starch, and clay powder. I love this stuff. It has a high learning curve, and need some getting used to. You can make a mess of yourself if you're not careful, but it's easily cleaned by using water. The brown one use clay powder only, just like those pottery clay. These stuff might be hard to come by. You need to look in speciality and craft shops to find it. I got my paper clay from www.lotuspaperclay.com, the Keramiplast was purchased from a local bookstore.


Polymer Clay

Poly clay for short. This is my newest acquisition. Thanks to Elise from Claygeek for hooking me up with this stuff. Polymer clay is similar to oil clay, the difference is that poly clay will cure when it is baked. I haven't had the chance to work with it much, let alone make a figure out of it. I'll have to get back on this later.


That's the first part of the tutorial. In the next part we will start to make the figure.

So stay tuned!