We're back again folks!
My PC got infected by a virus so there's some delay in updating the blog. Sorry for that. I've also keep forgetting to snap a couple of pictures while I'm in the zone. It looks like this figure isn't going to be finished in just 48 hours. I will try to finish it before the month's end though.
Let's get part 2 started!
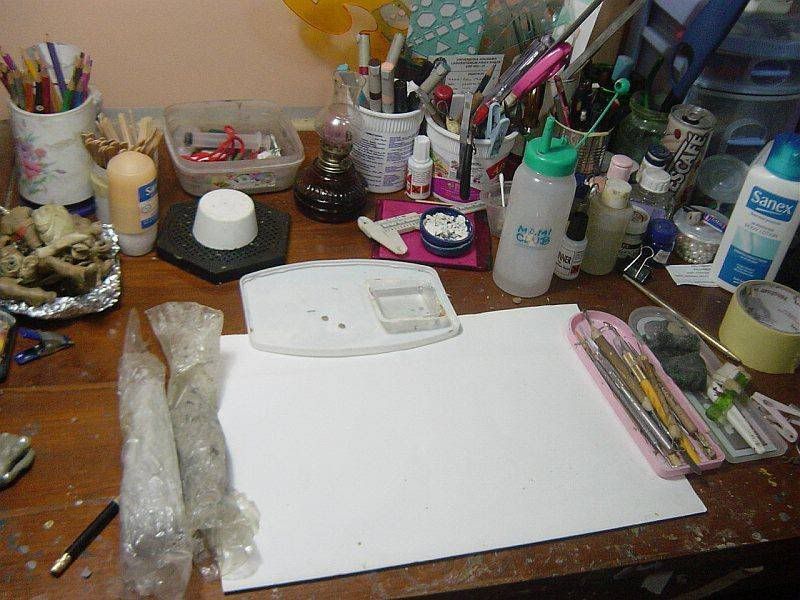
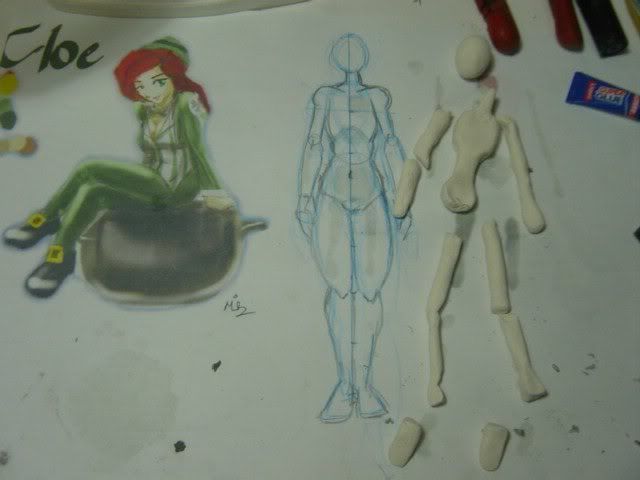
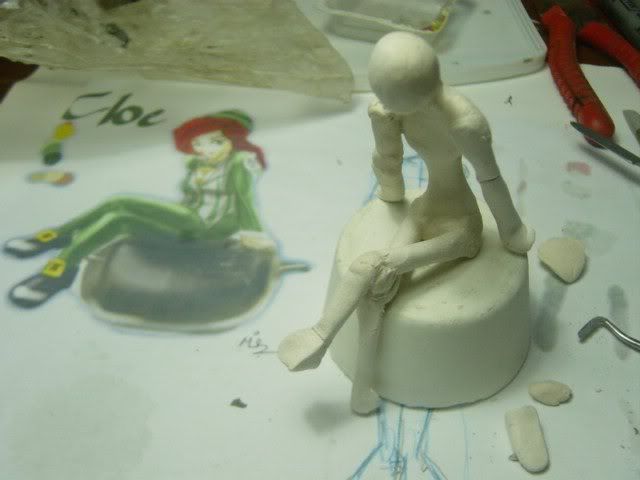
Picking up from the last post, the armature has dried and it's time to put in some flesh and muscle. At this stage I just put on sausage and ball shapes to define the major muscle groups. This is also the stage to get the (final) pose and balance right. The left most picture was the end result after some drying, carving and sanding. Keep all your shavings and scraps from the carving! I'll tell you why later.
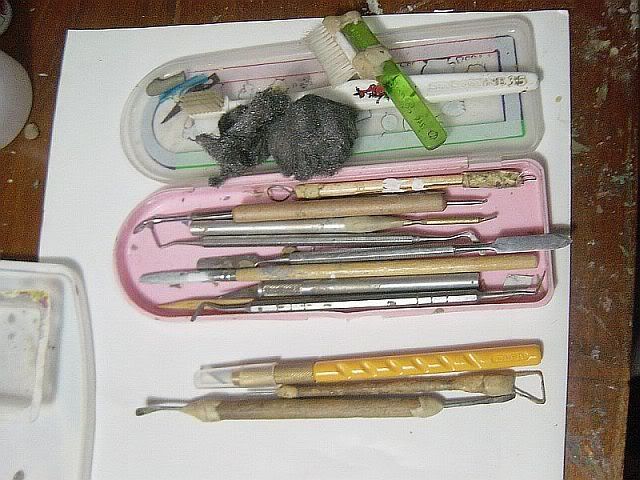
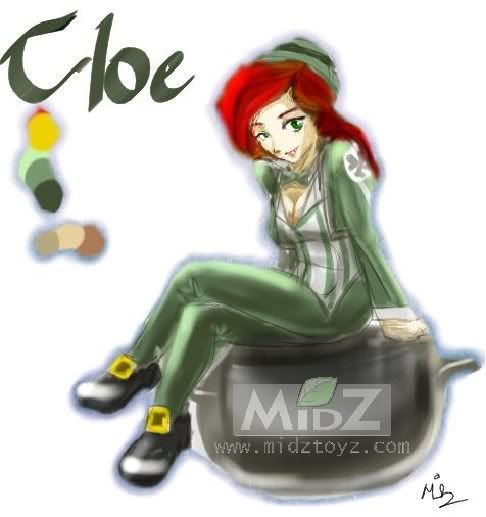
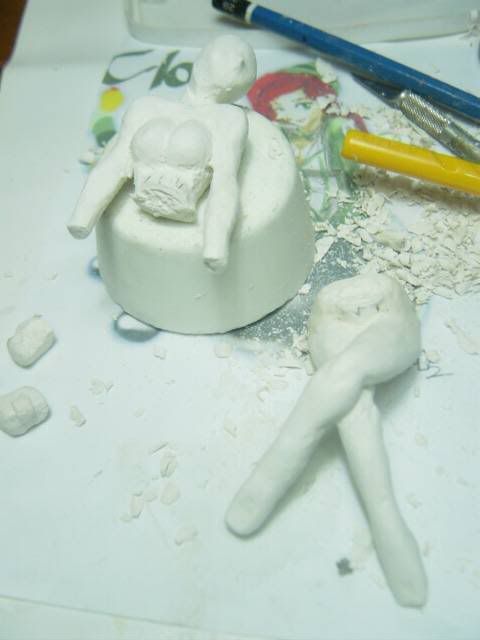
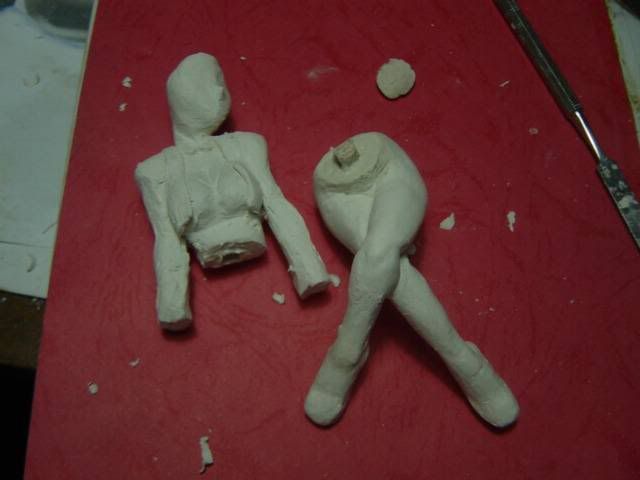
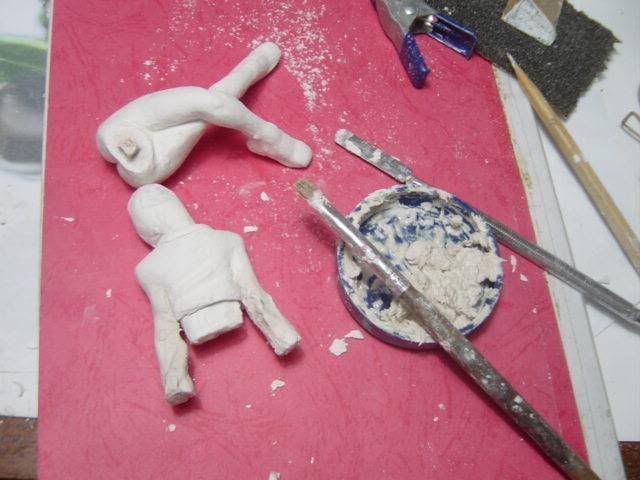
After the pose has been establish, now begin the detailing stage. For this stage it's almost impossible for me not to cut apart a figure. Seeing that in the concept Cloe wear a jacket and pants, it's natural to split the figure into two parts. Torso and legs. From here on I detail the parts separately. I did the torso first by making the bustier and jacket. For the legs, it's a matter of sculpting shoes...that's it. Somewhere in between detailing the torso, I made a peg and a hole to join the two parts together.
The detailing stage took a lot of time, most of it spent on waiting for the parts to dry. Dry the part every time you're happy with your sculpt, and don't do too much at one time. It lower the risk of accidentally ruining your sculpts.
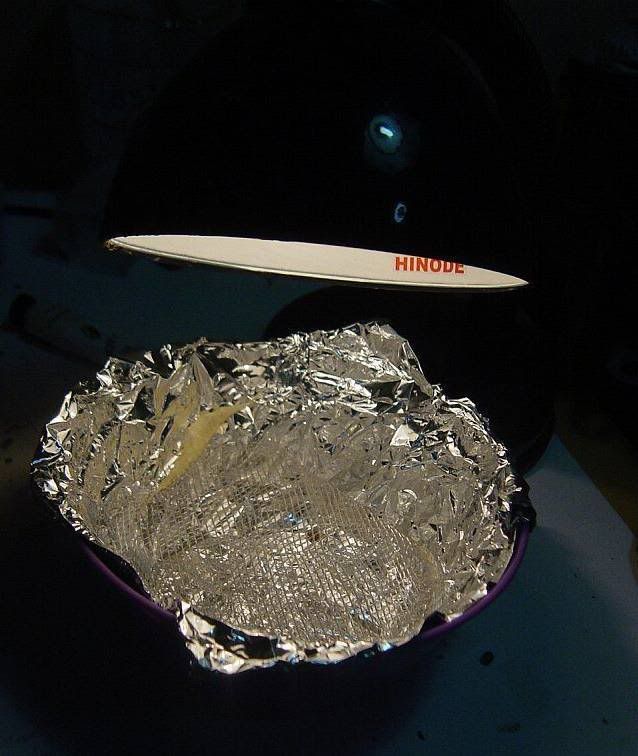
Even after sanding, you're bound to find blemishes on the surface of the figure. This is where the scraps and shavings come into play. I put the shaving in a dish and add in water. The idea is to make a pulpy paste to fill the blemishes. This paste can also be used as glue for broken parts. Just make sure to dry the parts completely afterwards.


Thats the end of part 2. Make sure to check back soon for part 3 where we going to tackle the face and head...Oooh.
Thanks for visiting!
Technorati Tags: anime, figures, making, sculpting, ladoll, air dry, clay
My PC got infected by a virus so there's some delay in updating the blog. Sorry for that. I've also keep forgetting to snap a couple of pictures while I'm in the zone. It looks like this figure isn't going to be finished in just 48 hours. I will try to finish it before the month's end though.
Let's get part 2 started!
Picking up from the last post, the armature has dried and it's time to put in some flesh and muscle. At this stage I just put on sausage and ball shapes to define the major muscle groups. This is also the stage to get the (final) pose and balance right. The left most picture was the end result after some drying, carving and sanding. Keep all your shavings and scraps from the carving! I'll tell you why later.
After the pose has been establish, now begin the detailing stage. For this stage it's almost impossible for me not to cut apart a figure. Seeing that in the concept Cloe wear a jacket and pants, it's natural to split the figure into two parts. Torso and legs. From here on I detail the parts separately. I did the torso first by making the bustier and jacket. For the legs, it's a matter of sculpting shoes...that's it. Somewhere in between detailing the torso, I made a peg and a hole to join the two parts together.
The detailing stage took a lot of time, most of it spent on waiting for the parts to dry. Dry the part every time you're happy with your sculpt, and don't do too much at one time. It lower the risk of accidentally ruining your sculpts.
Even after sanding, you're bound to find blemishes on the surface of the figure. This is where the scraps and shavings come into play. I put the shaving in a dish and add in water. The idea is to make a pulpy paste to fill the blemishes. This paste can also be used as glue for broken parts. Just make sure to dry the parts completely afterwards.

Thats the end of part 2. Make sure to check back soon for part 3 where we going to tackle the face and head...Oooh.
Thanks for visiting!
Technorati Tags: anime, figures, making, sculpting, ladoll, air dry, clay