
Hooray! another WIP!!
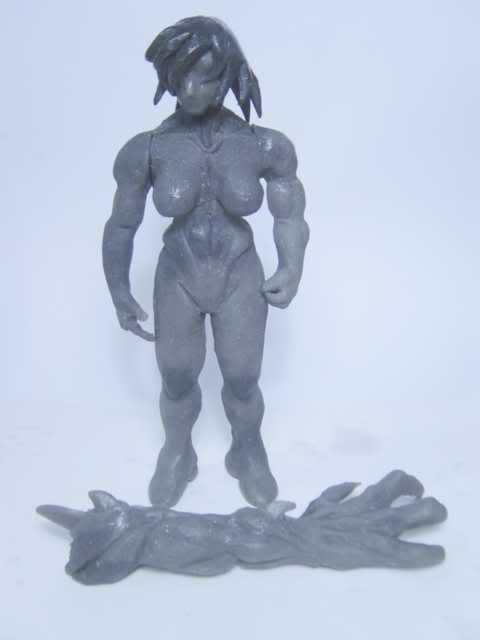
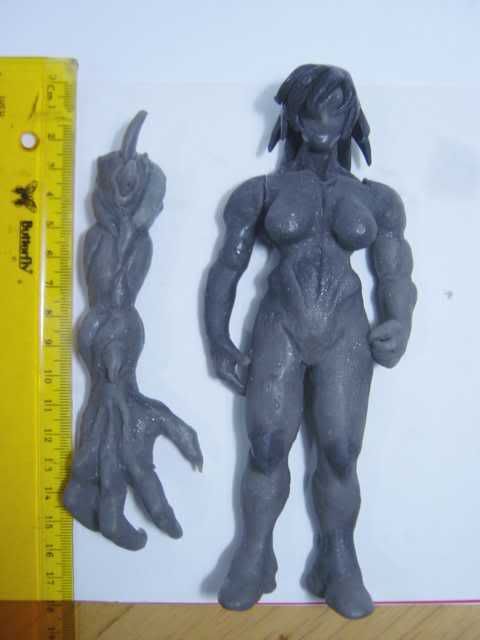
Finally get the courage to make a waste mold for my Bima. A waste mold is used to cast a polyester putty copy of the original oil-clay model. This copy will then be detailed, sand to smooth, and prep for the silicone master mold.
I use polyester putty to make my waste mold. The method to make a waste mold is easy. I'll describe how I did it in this article. OK, here we go!
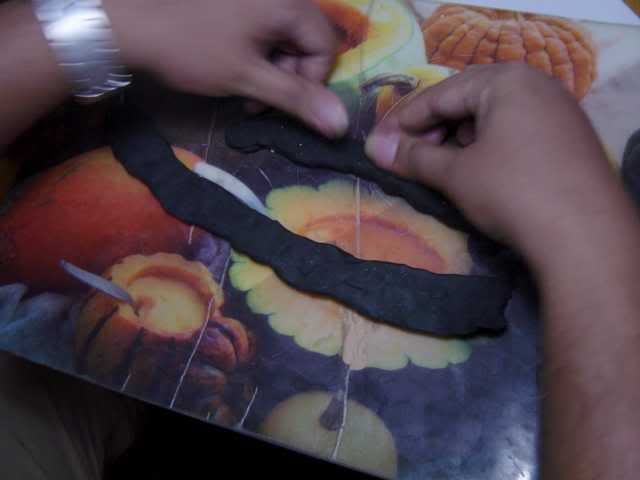
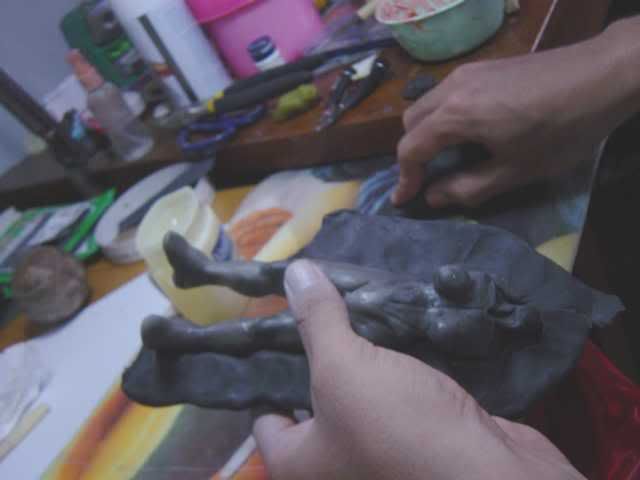
First, you must prepare your model and make a clay wall around the sides of the model. Be sure to coat your model with vaseline or liquid soap before sticking the wall.


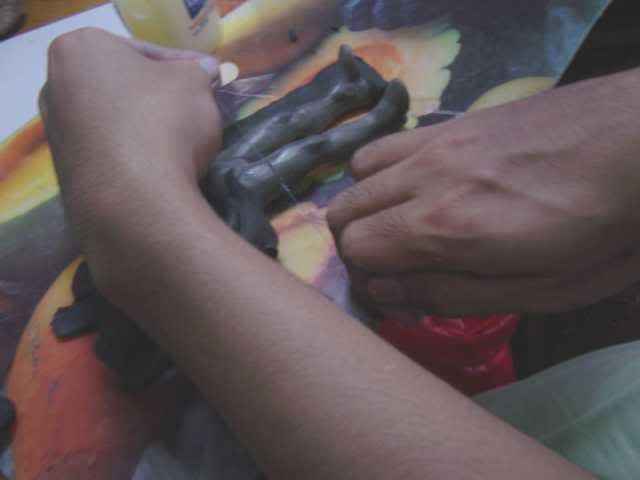
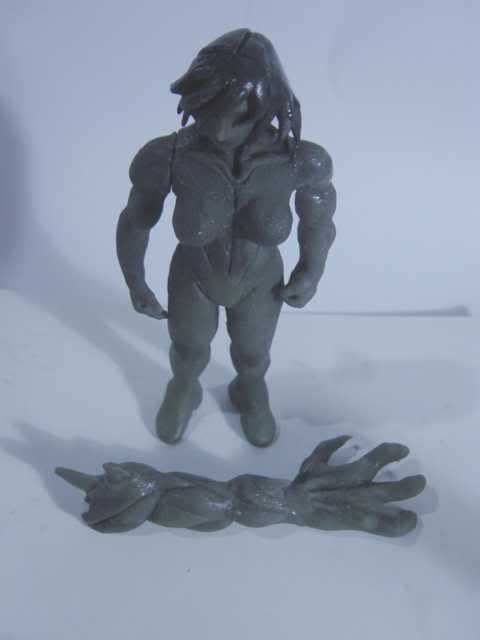
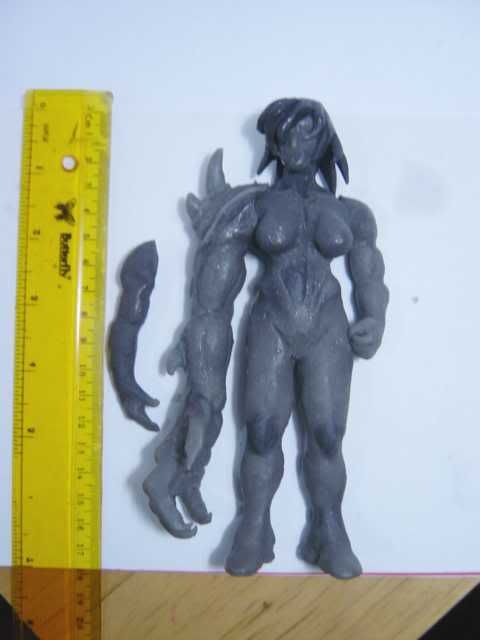
To make my life easier, I've cut the right leg and make a separate mold for it. I use sewing thread for this. After you've finished making the wall, make some indentation to the wall. This will act as keys and help you to align the mold pieces later. Next we need to coat the surface of the model and wall with more vaseline! This will mek it easier to pull the mold off the model later.


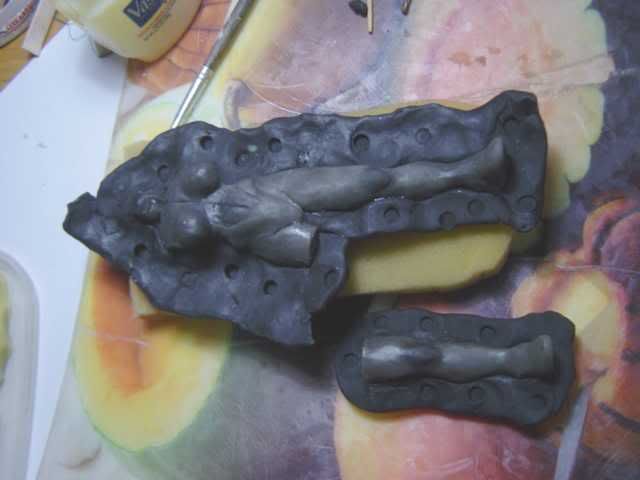
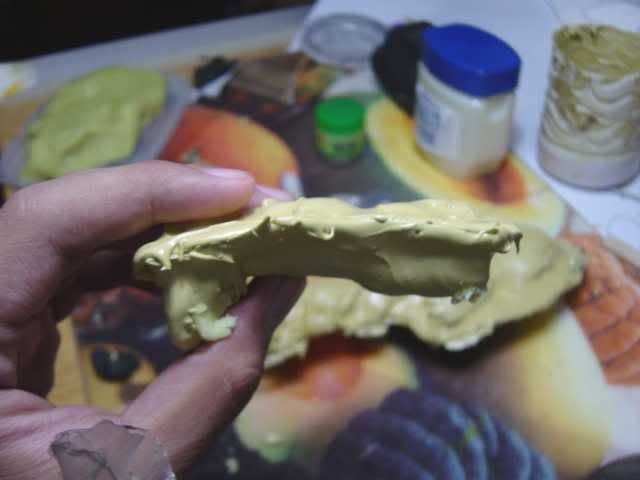
Now you must mix the polyester putty. I'm using a local brand called San Polac. The instruction will tell you the ratio to mix the hardner and the putty. In my case it's 100:2. Mixing the putty and the hardener is tricky. To little hardner and your mixture will cure longer (or not at all), too much and it'll cure before you get the chance to work with it. My advice is to experiment, and a bottle of thinner is handy too. Pour and spread the putty mixture on your model. Let it cure. The curing time will vary depending on the mixing ration, temperature and humidity. The front part cured in about 1 hour. After the putty cured, remove the wall, coat the backside of the model AND the putty mold with vaseline. Next mix another batch of putty and smear it to make the back part of the mold.


I've screwed up the mixture for the back mold (too much thinner) and the mold is still soft after 12 hours T_T. Note to self: next time, dont use too much thinner.
That's it for making a waste mold. Hope you've enjoyed it!
Finally get the courage to make a waste mold for my Bima. A waste mold is used to cast a polyester putty copy of the original oil-clay model. This copy will then be detailed, sand to smooth, and prep for the silicone master mold.
I use polyester putty to make my waste mold. The method to make a waste mold is easy. I'll describe how I did it in this article. OK, here we go!
First, you must prepare your model and make a clay wall around the sides of the model. Be sure to coat your model with vaseline or liquid soap before sticking the wall.

To make my life easier, I've cut the right leg and make a separate mold for it. I use sewing thread for this. After you've finished making the wall, make some indentation to the wall. This will act as keys and help you to align the mold pieces later. Next we need to coat the surface of the model and wall with more vaseline! This will mek it easier to pull the mold off the model later.

Now you must mix the polyester putty. I'm using a local brand called San Polac. The instruction will tell you the ratio to mix the hardner and the putty. In my case it's 100:2. Mixing the putty and the hardener is tricky. To little hardner and your mixture will cure longer (or not at all), too much and it'll cure before you get the chance to work with it. My advice is to experiment, and a bottle of thinner is handy too. Pour and spread the putty mixture on your model. Let it cure. The curing time will vary depending on the mixing ration, temperature and humidity. The front part cured in about 1 hour. After the putty cured, remove the wall, coat the backside of the model AND the putty mold with vaseline. Next mix another batch of putty and smear it to make the back part of the mold.


I've screwed up the mixture for the back mold (too much thinner) and the mold is still soft after 12 hours T_T. Note to self: next time, dont use too much thinner.
That's it for making a waste mold. Hope you've enjoyed it!