
 Welcome to part 3 of Midztoy's figure making mini tutorial!
If you haven't read the first couple of tutorial, just click here and here.
On this third installment we're going to sculpt the face of the figure. There are as many way to sculpt a face as there is sculptors. This is my way. It might not be the best way for you, but I hope you can learn and develop your own way to sculpt faces. Like always, have some reference handy. We'll be aiming for likeness, and those references are needed for that. I can't stress this enough.
Okay, let's sculpt some face!
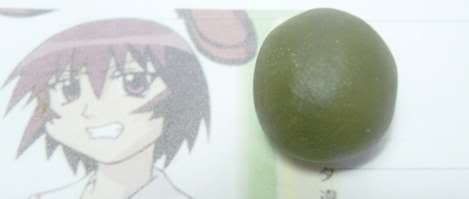
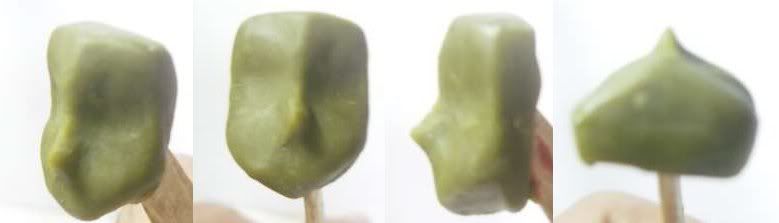
Start by making a ball of clay roughly the size of the head. Use your reference as a guide. You can also stick it on the body to get an estimate of the size and proportion of the ball.
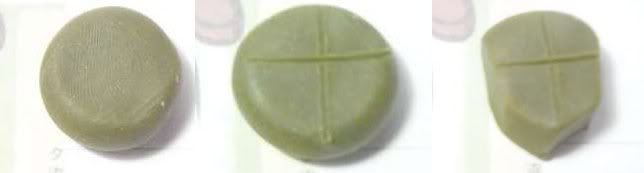
After getting the jaw and chin right, I then pres an indentation on the horizontal lines to make the groove for the eyes. While doing this, I smooth out the clay and made the contour of the cheek and forhead. If you have an anime figure laying around (a gashapon should do), examine and study how the sculptor sculpt the face. Try to mimic it, it's great practice! Anyway, after some kneading and smoothing, I got my cheek bone. Now we must add a nose, time for a nose job.

I pinch a small ball of clay and put it where the nose is located. I then sculpt the nose and blend it to the face. Sculpting anime style nose is easy! No need to add nostrils and other details. All you need to do is sculpt a pointy triangle and you're done. Joy! You do need to check it from every angle to make sure the nose is in the right position and it's not croocked.
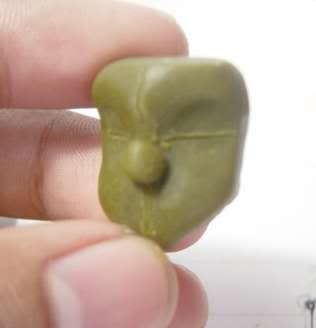
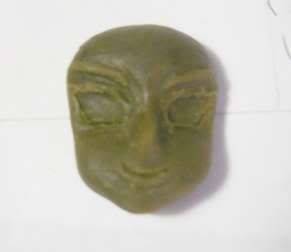
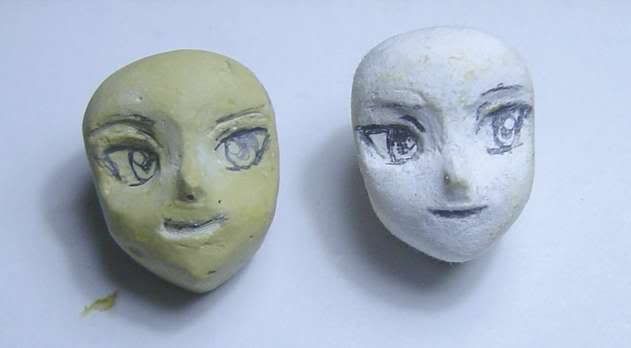
Using my tool, I scribe the eyes and made the eyelids, I also sculpt out the mouth. I really can't give you any pointers on this, other than use your reference and paractice, practice, practice! The great thing on using oil clay (and maybe sculpey) is when you mess up, you can repair it easily. I messed up a lot while making the eyes and mouth for the face in this tutorial. The picture below is actually the result after many unsuccessfull attempt. Now we got ourself a face.
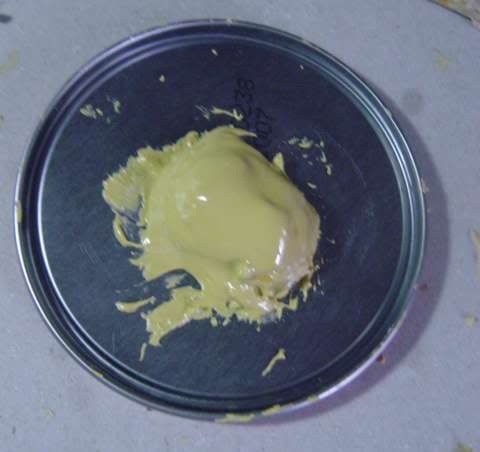
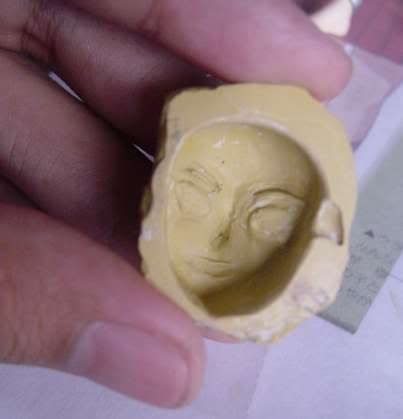
Fix the proportion if it's off. Since we dont want to accidentally squish the face while working on the rest og the figure, we need to make the face stronger. That's where waste molds comes in. I've written an article on how to make a waste mold, Read this first. Below are some photos I've taken while making a waste mold for the face.

Next up, body casting. This one's a doozy!
Until next time!
No comments:
Post a Comment