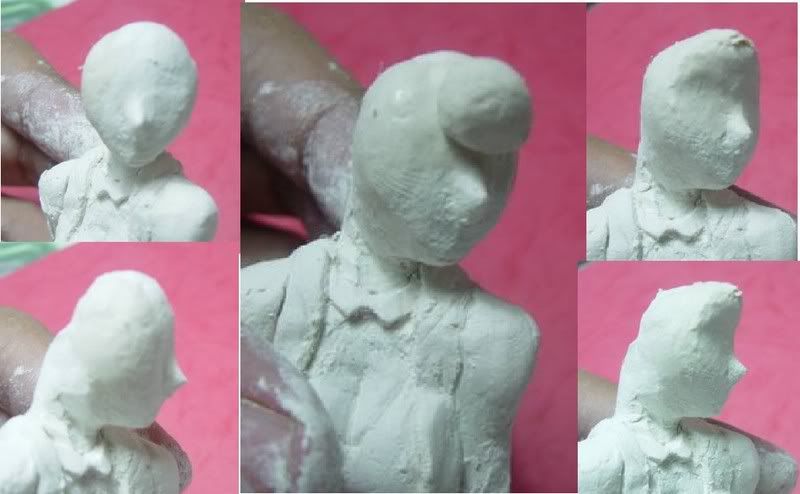
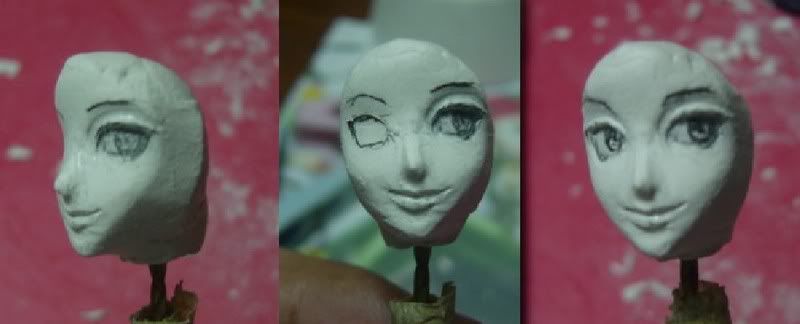
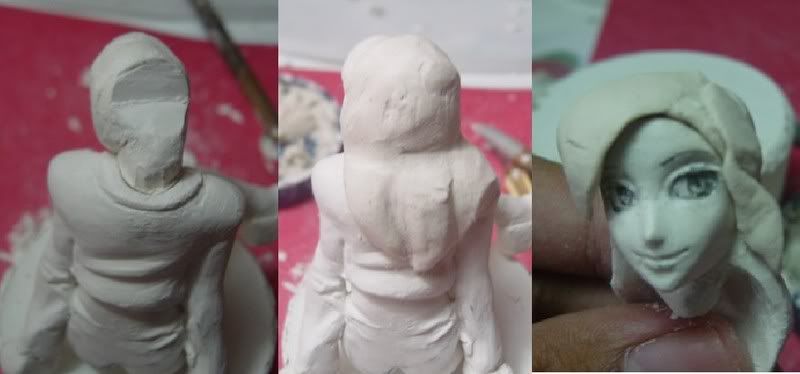
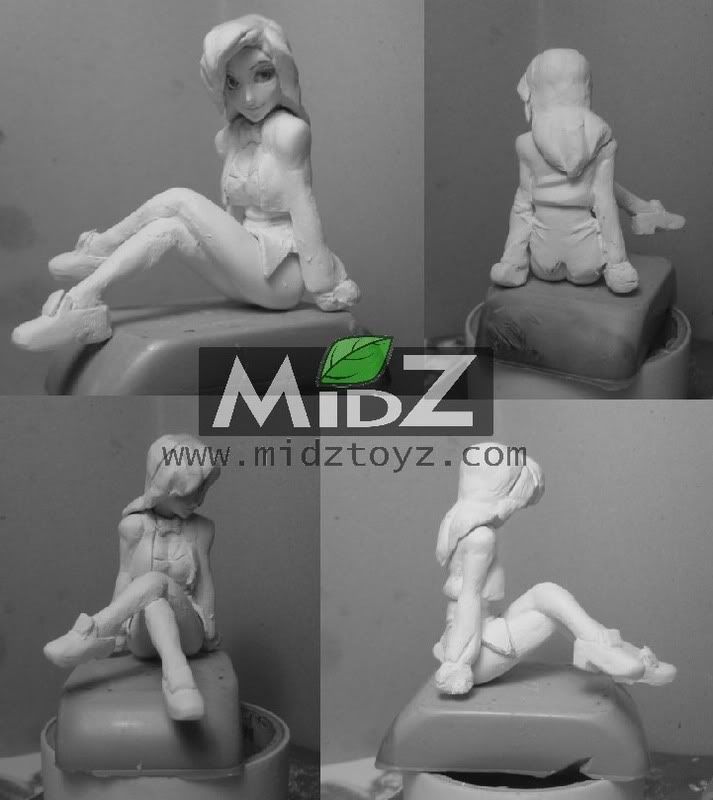
Finally after a long testing and experimenting, I think I've found myself a nifty modeling wax formula. YAY!
To test drive this formula, I sculpted a figure of Nariko from Heavenly Sword for The Clubhouse 53rd Sculpting Jam. It's a slight departure from making the usual anime figure, but this was fun...so much fun!
That and mostly I'm still giddy from excitement because I've finally found a wax recipe (and ingredients) that works!! :))
I am poor at documenting my progress. So forgive me for the lack of progression steps in the photo.
 The first step I did before making the figure is to gather references. A Lot of references. You can't have enough references :D I found Creative Uncut to be, indeed, a treasure trove for video game reference. I've gathered up pictures of Nariko from various concept art, in game footage, and fan art to give me the information that I need. Even then I still lack the details on her belt strap thingy :(
I printed out the pictures and made a wall of reference in my sculpting station. With this step done, I can get to the actual sculpting process.
 I start with the usual aluminum wire armature as the core of the body and legs. Then it's just a matter of slapping a way the warm wax all over the armature, fleshing out the major muscle groups and tweaking the pose. The picture shows the fruit of about 2 hours of wax pushing labor.
A note about the armature. I construct my armature a little differently. I start by doing the core body and legs, up to the top of the ribcage where the clavicles are. I modeled over it with material, pose it and them made a separate armature for the head and the arms. This method is influenced mostly from Burne Hogarth's Dynamic Figure drawing book. In it he describes that the first thing you that you must implement is the trunk of the body, followed by the legs, arms, and finally the head. I don't necessarily follow this on every project, but it's a good rule of thumb for me.

Next we jump way way WAY forward with the sculpt. During this period I accidentally nudge over the sculpt over the table causing it to break. The major damage was on the legs therefore I decide to just cut them off and made this into a 3/4 statue. By this time I've added modeled the majority of the costume and fix her pose. I did the head after fixing up the rest of the body, and wouldn't you know it the head was to frikkin big. It throws off the proportion for the rest of the body. The funny thing is I didn't realize it at first because I've used calipers to measure the proportion and it checks out... at least on the vertical proportion. The problem was the head was too wide. So I scrapped the head and made a new, much smaller head and start there.
 The smaller head size fits wonderfully with the body. JOY! The picture on the right shows the new head sculpt.
If you're wondering about the different shades of material in this picture, allow me to explain. These are the waxes that I was talking about earlier. I made 3 shades to help me differentiate them. The whitish wax is the softest, I used it as a practice wax to see how something look before I commit myself with harder waxes. The yellow-brown colored wax is my work-horse wax. It firmer and does the bulk of the modeling. The dark colored wax is my hard (yet flexible) wax. It's mainly used for details and parts that is just plain pain-in-the-ass. Billowing capes and flowing hair comes to mind. In the future, I'm going to color them in a neutral grey shades. A slight blue/green tinge perhaps, so it's easier on the eyes.
 This final image is the current stage of this sculpt. I've added more details on the costume, resculpt the hair using the firm grade wax, and alter her pose a little bit. The next stage will be more tweaking, refining, and smoothing of the surface. I'm also going to make mold off it, since you cant have a 'permanent' wax sculpt, and I wanted to paint her up.
And thats the end of this part of the WIP report. I can assure you that this an ongoing project (Cloe is ongoing too!), so there will be more of it in the near future. I've already have several project lined up to be written and posted, so stay tuned!
As a reminder, I need your help in improving Midztoyz! So do vote at the poll that I've set up (if you cant find it, it's below the shout box, on the right). If you have other suggestion, feel free to give me a shout or drop me a mail!
Good luck on your sculpts everyone!
To test drive this formula, I sculpted a figure of Nariko from Heavenly Sword for The Clubhouse 53rd Sculpting Jam. It's a slight departure from making the usual anime figure, but this was fun...so much fun!
That and mostly I'm still giddy from excitement because I've finally found a wax recipe (and ingredients) that works!! :))
I am poor at documenting my progress. So forgive me for the lack of progression steps in the photo.
The first step I did before making the figure is to gather references. A Lot of references. You can't have enough references :D I found Creative Uncut to be, indeed, a treasure trove for video game reference. I've gathered up pictures of Nariko from various concept art, in game footage, and fan art to give me the information that I need. Even then I still lack the details on her belt strap thingy :(I printed out the pictures and made a wall of reference in my sculpting station. With this step done, I can get to the actual sculpting process.
I start with the usual aluminum wire armature as the core of the body and legs. Then it's just a matter of slapping a way the warm wax all over the armature, fleshing out the major muscle groups and tweaking the pose. The picture shows the fruit of about 2 hours of wax pushing labor.A note about the armature. I construct my armature a little differently. I start by doing the core body and legs, up to the top of the ribcage where the clavicles are. I modeled over it with material, pose it and them made a separate armature for the head and the arms. This method is influenced mostly from Burne Hogarth's Dynamic Figure drawing book. In it he describes that the first thing you that you must implement is the trunk of the body, followed by the legs, arms, and finally the head. I don't necessarily follow this on every project, but it's a good rule of thumb for me.
Next we jump way way WAY forward with the sculpt. During this period I accidentally nudge over the sculpt over the table causing it to break. The major damage was on the legs therefore I decide to just cut them off and made this into a 3/4 statue. By this time I've added modeled the majority of the costume and fix her pose. I did the head after fixing up the rest of the body, and wouldn't you know it the head was to frikkin big. It throws off the proportion for the rest of the body. The funny thing is I didn't realize it at first because I've used calipers to measure the proportion and it checks out... at least on the vertical proportion. The problem was the head was too wide. So I scrapped the head and made a new, much smaller head and start there.
The smaller head size fits wonderfully with the body. JOY! The picture on the right shows the new head sculpt.If you're wondering about the different shades of material in this picture, allow me to explain. These are the waxes that I was talking about earlier. I made 3 shades to help me differentiate them. The whitish wax is the softest, I used it as a practice wax to see how something look before I commit myself with harder waxes. The yellow-brown colored wax is my work-horse wax. It firmer and does the bulk of the modeling. The dark colored wax is my hard (yet flexible) wax. It's mainly used for details and parts that is just plain pain-in-the-ass. Billowing capes and flowing hair comes to mind. In the future, I'm going to color them in a neutral grey shades. A slight blue/green tinge perhaps, so it's easier on the eyes.
This final image is the current stage of this sculpt. I've added more details on the costume, resculpt the hair using the firm grade wax, and alter her pose a little bit. The next stage will be more tweaking, refining, and smoothing of the surface. I'm also going to make mold off it, since you cant have a 'permanent' wax sculpt, and I wanted to paint her up.And thats the end of this part of the WIP report. I can assure you that this an ongoing project (Cloe is ongoing too!), so there will be more of it in the near future. I've already have several project lined up to be written and posted, so stay tuned!
As a reminder, I need your help in improving Midztoyz! So do vote at the poll that I've set up (if you cant find it, it's below the shout box, on the right). If you have other suggestion, feel free to give me a shout or drop me a mail!
Good luck on your sculpts everyone!